
Follow these steps for easy install
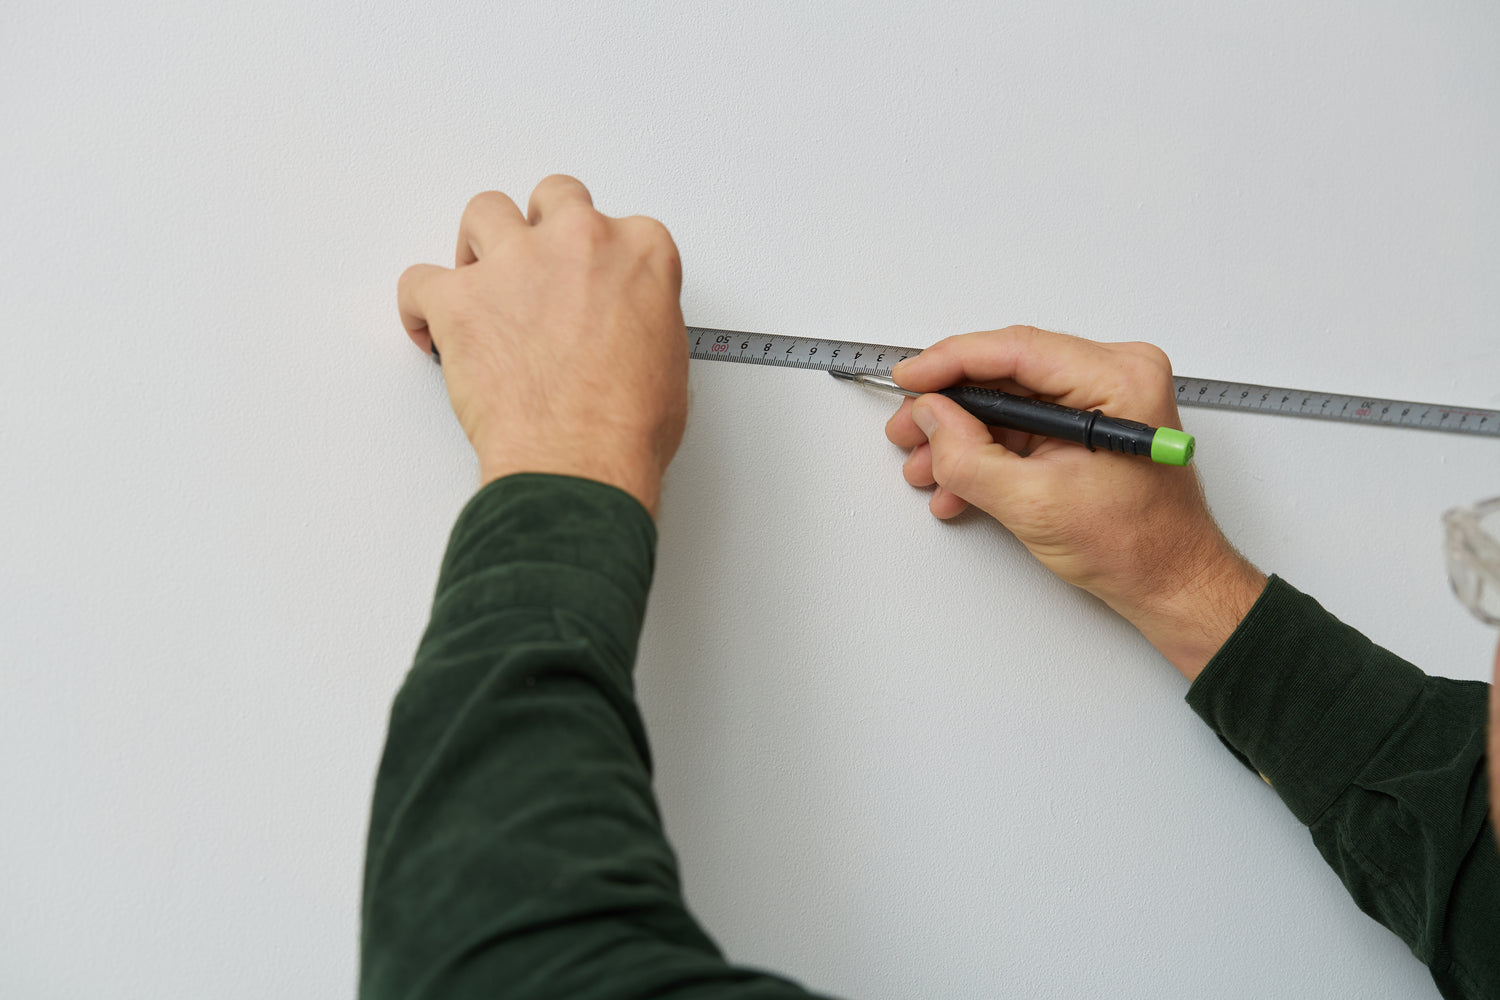
Step 1: Locate your desired hook height
Identify the height where you want your hook installed.
- For stud walls: Locate the stud positions.
- For brick walls: Ensure the hook is positioned on the brick, not the mortar line.
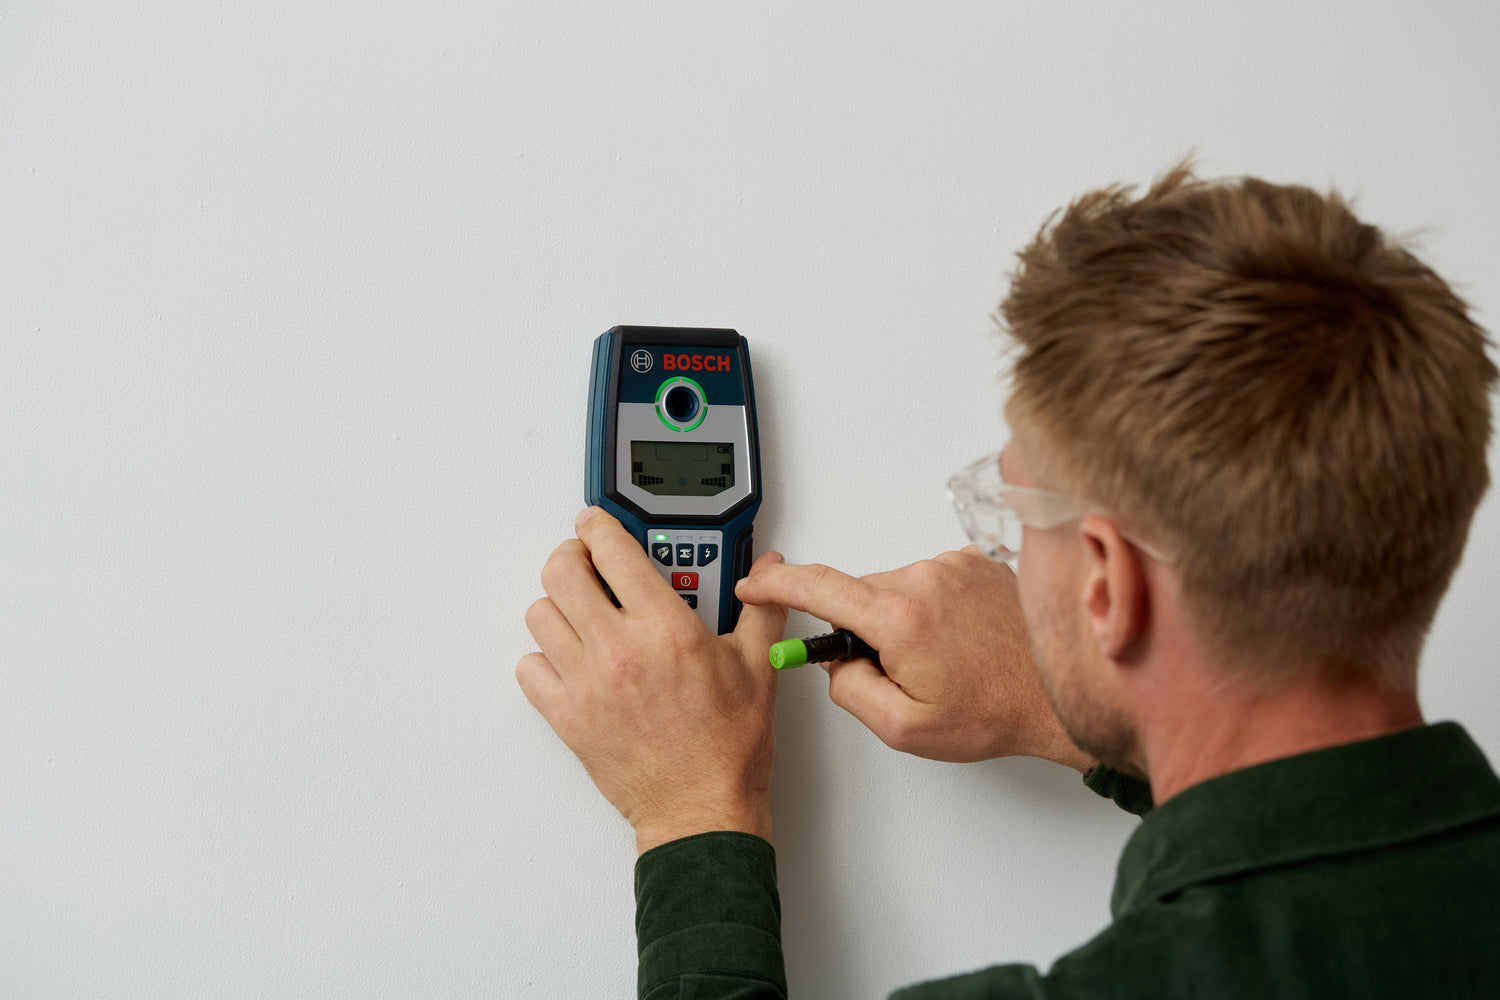
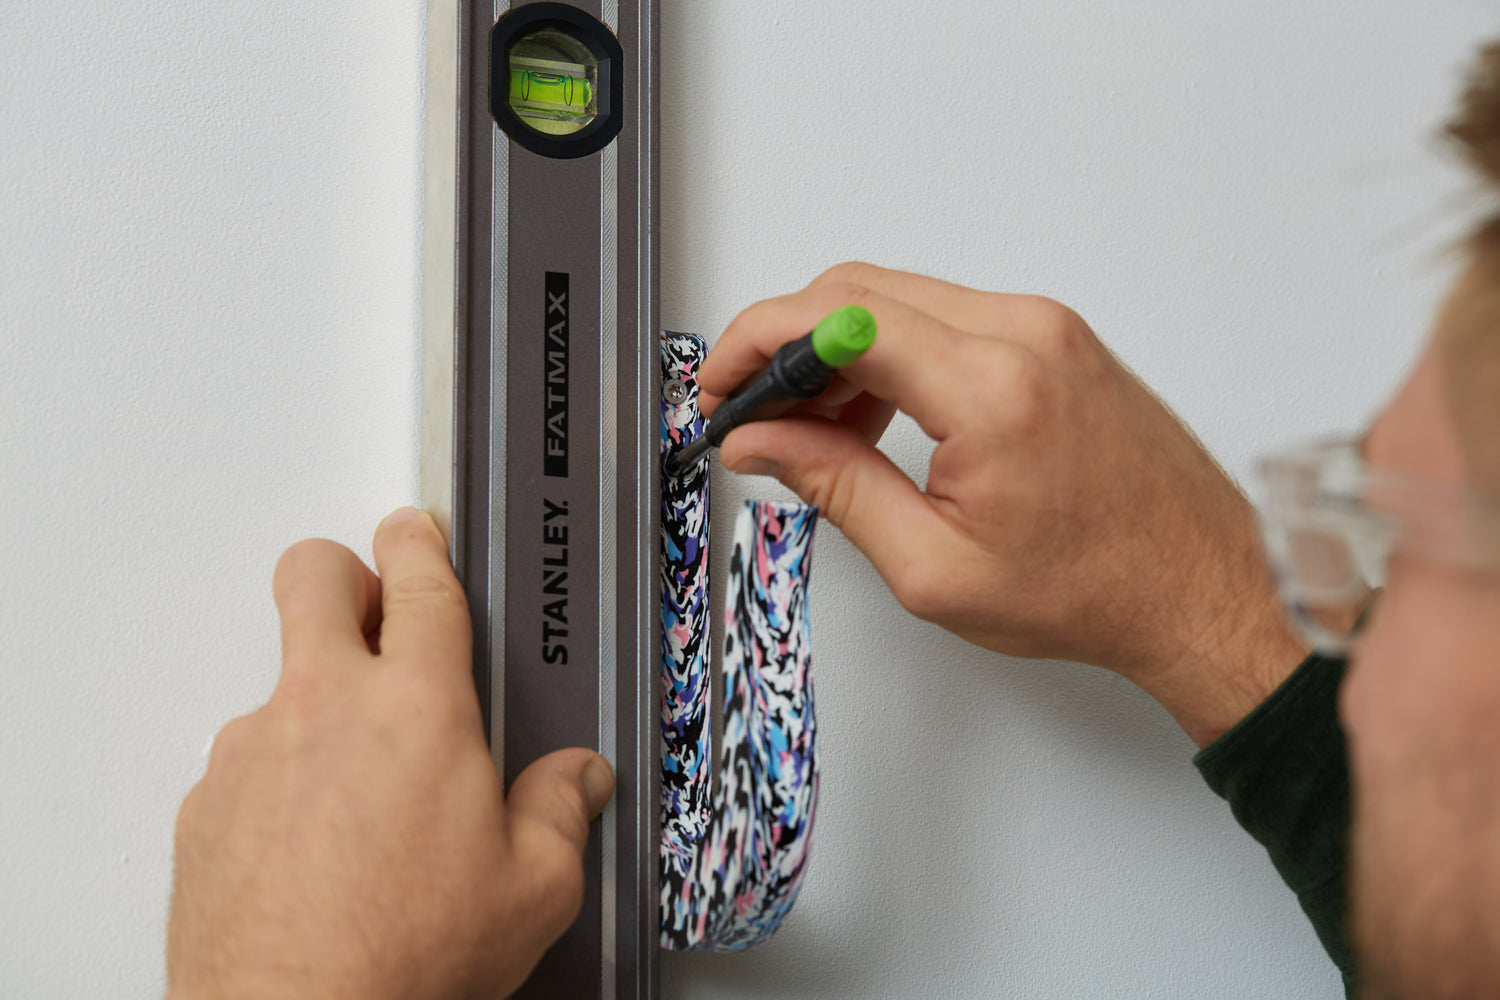
Step 2: Mark the upper hole location
Use a pencil to mark the position of the uper hole for the first hook on the wall.
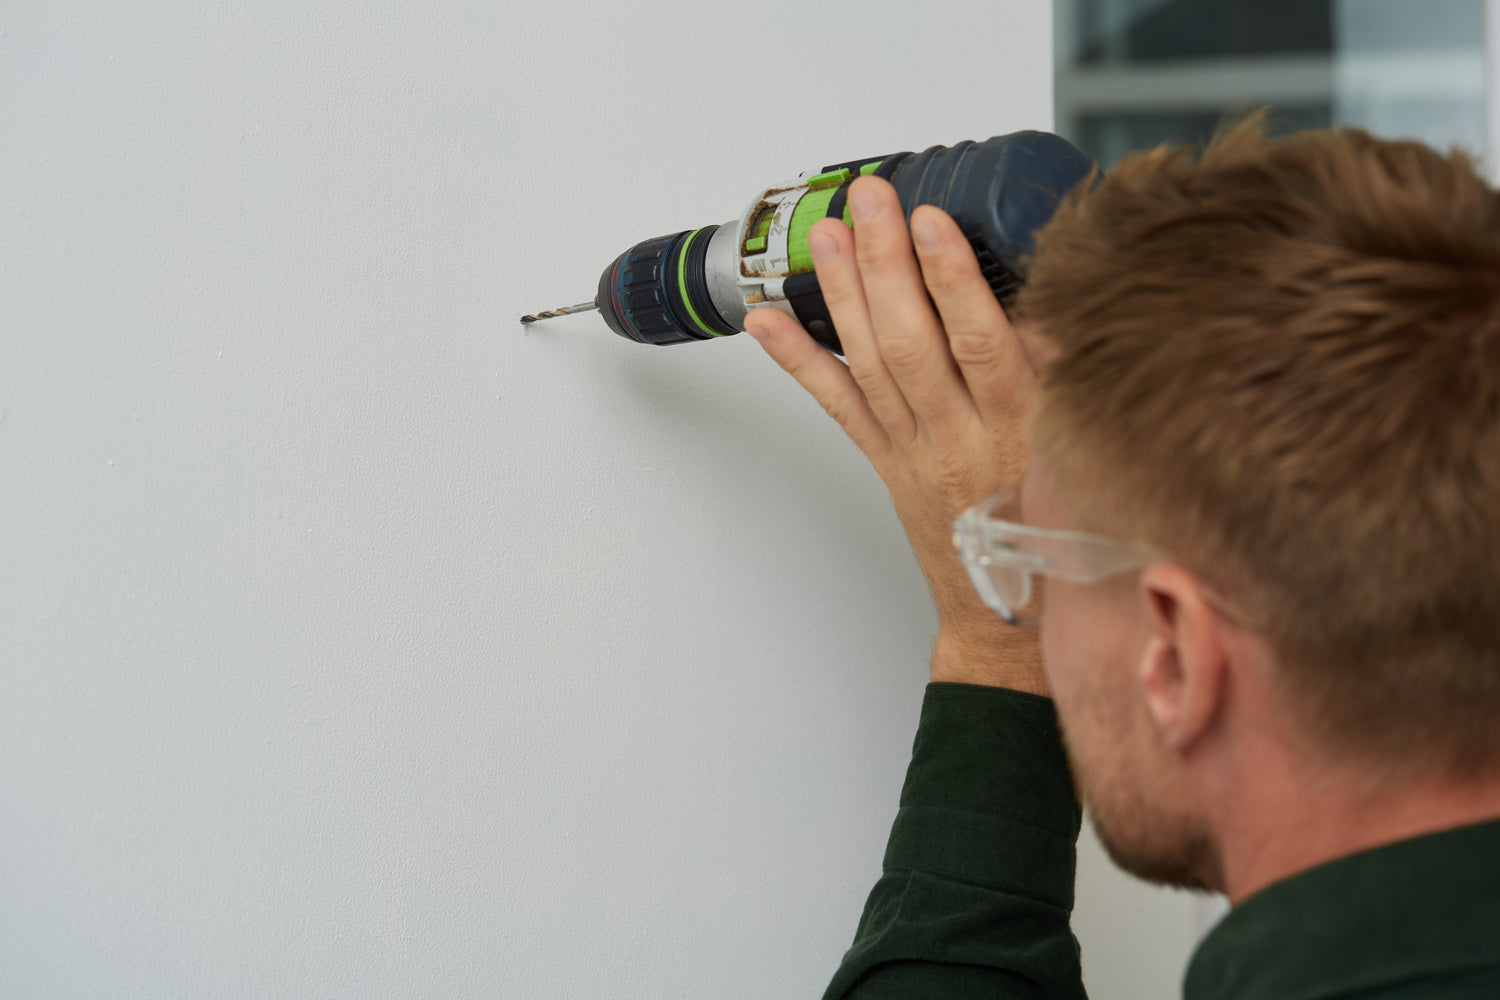
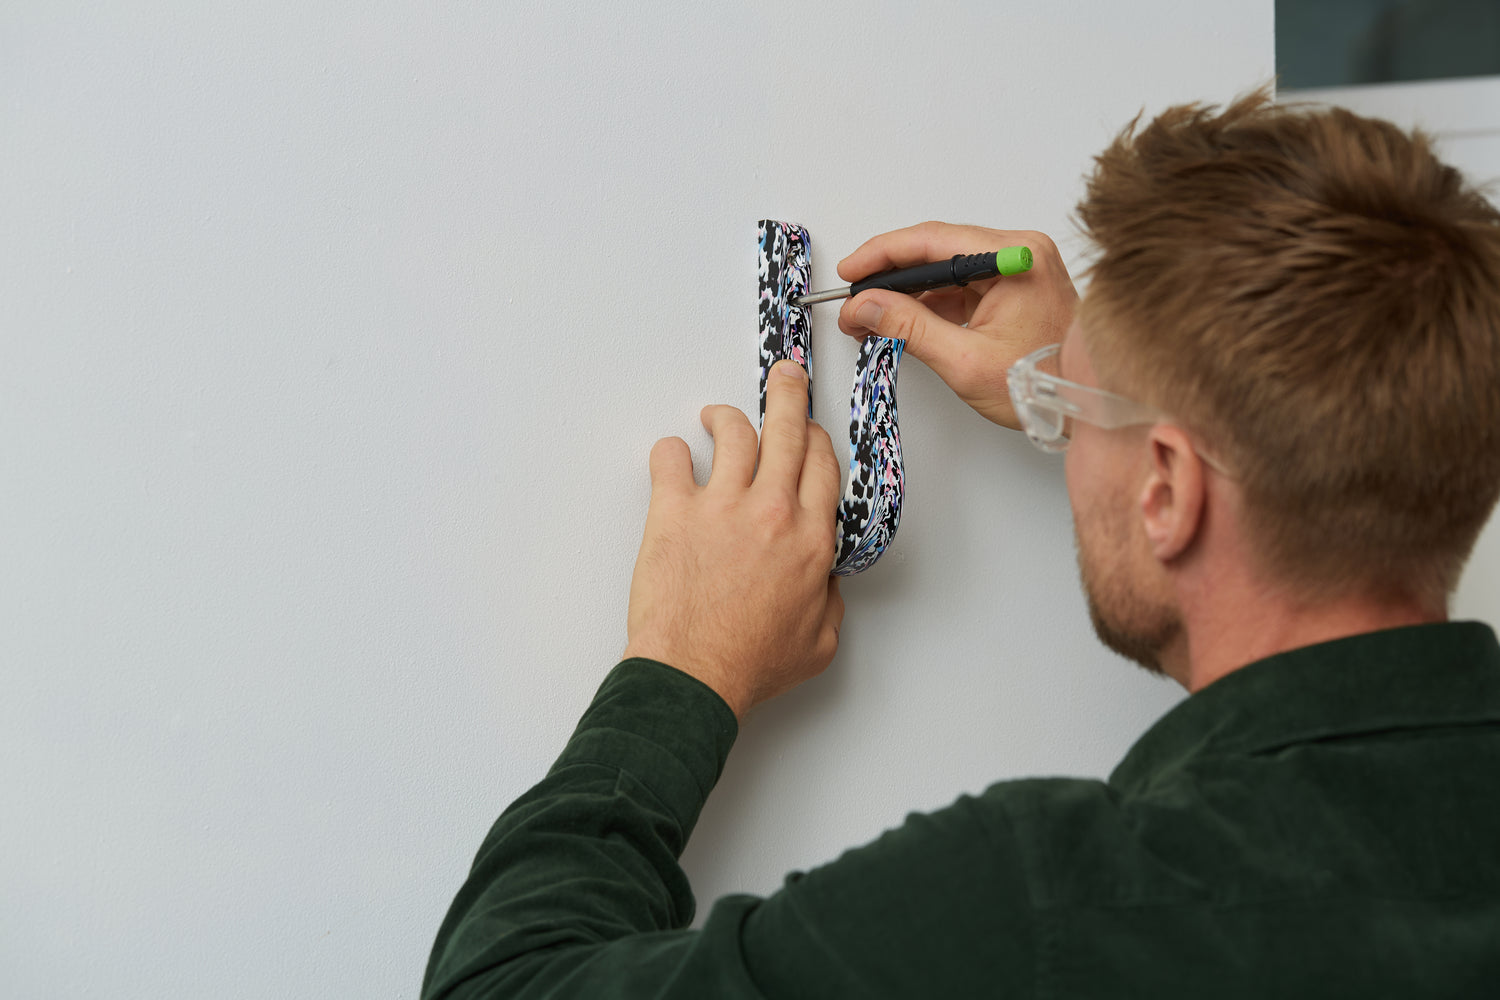
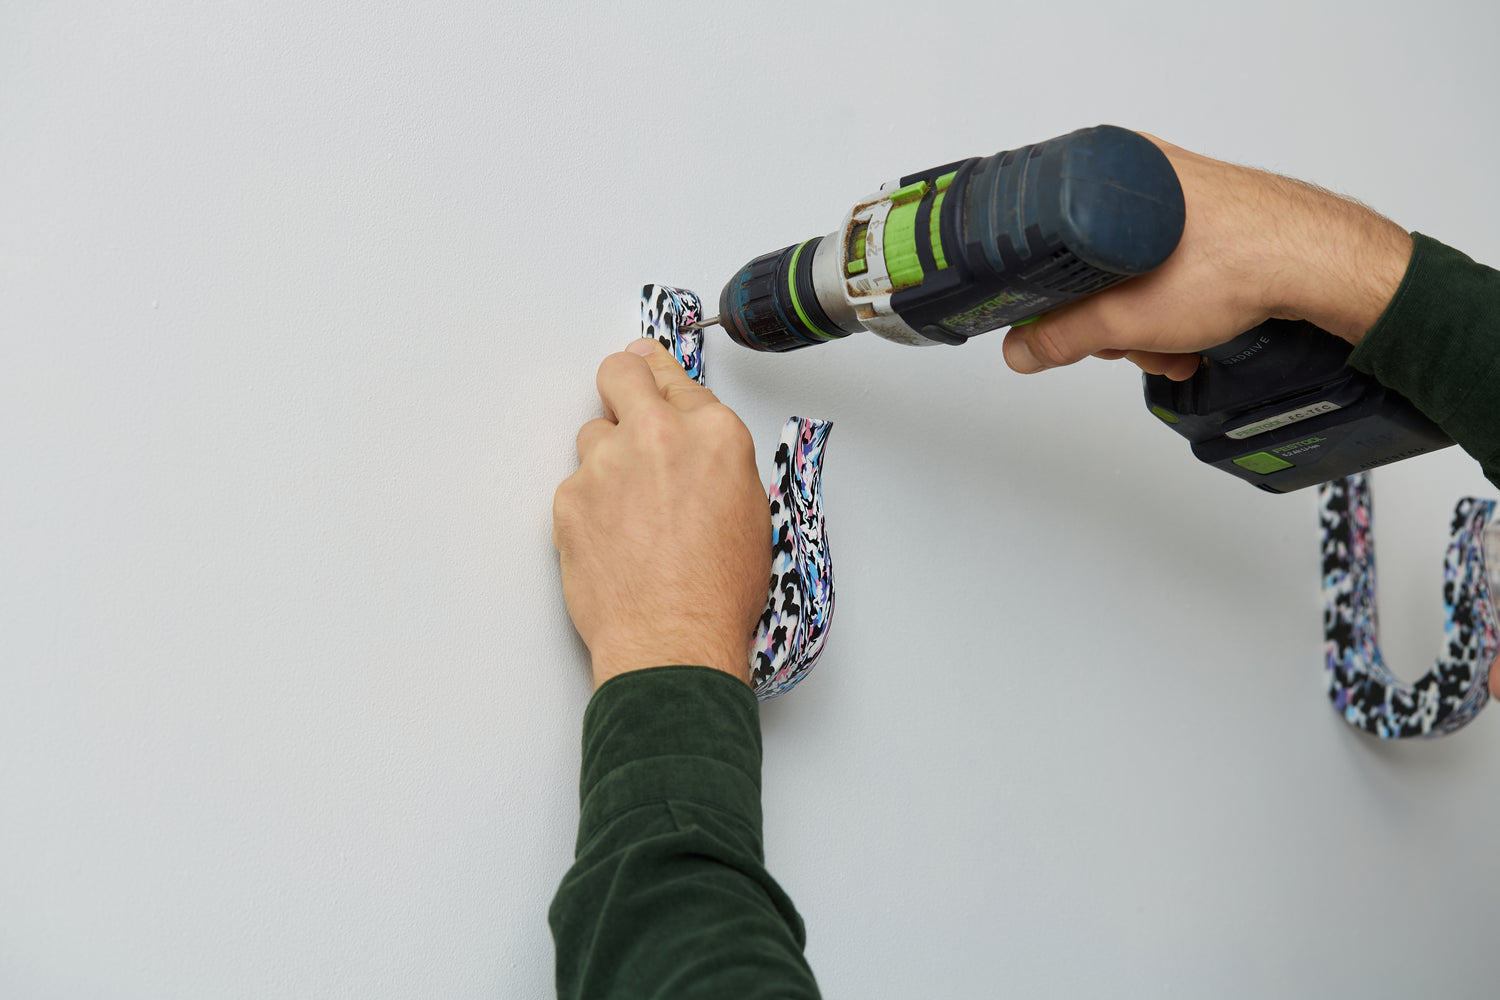
Step 3: Drill and fix the first hook
- Drill the first hole at the marked location.
- Secure the first hook to the wall using the upper screw.
- Use a spirit level to ensure the hook is horizontal before drilling and screwing the second hole.
Step 4: Find and mark the second hook location
Locate the second stud or wall area for the second hook. Mark the desired position.
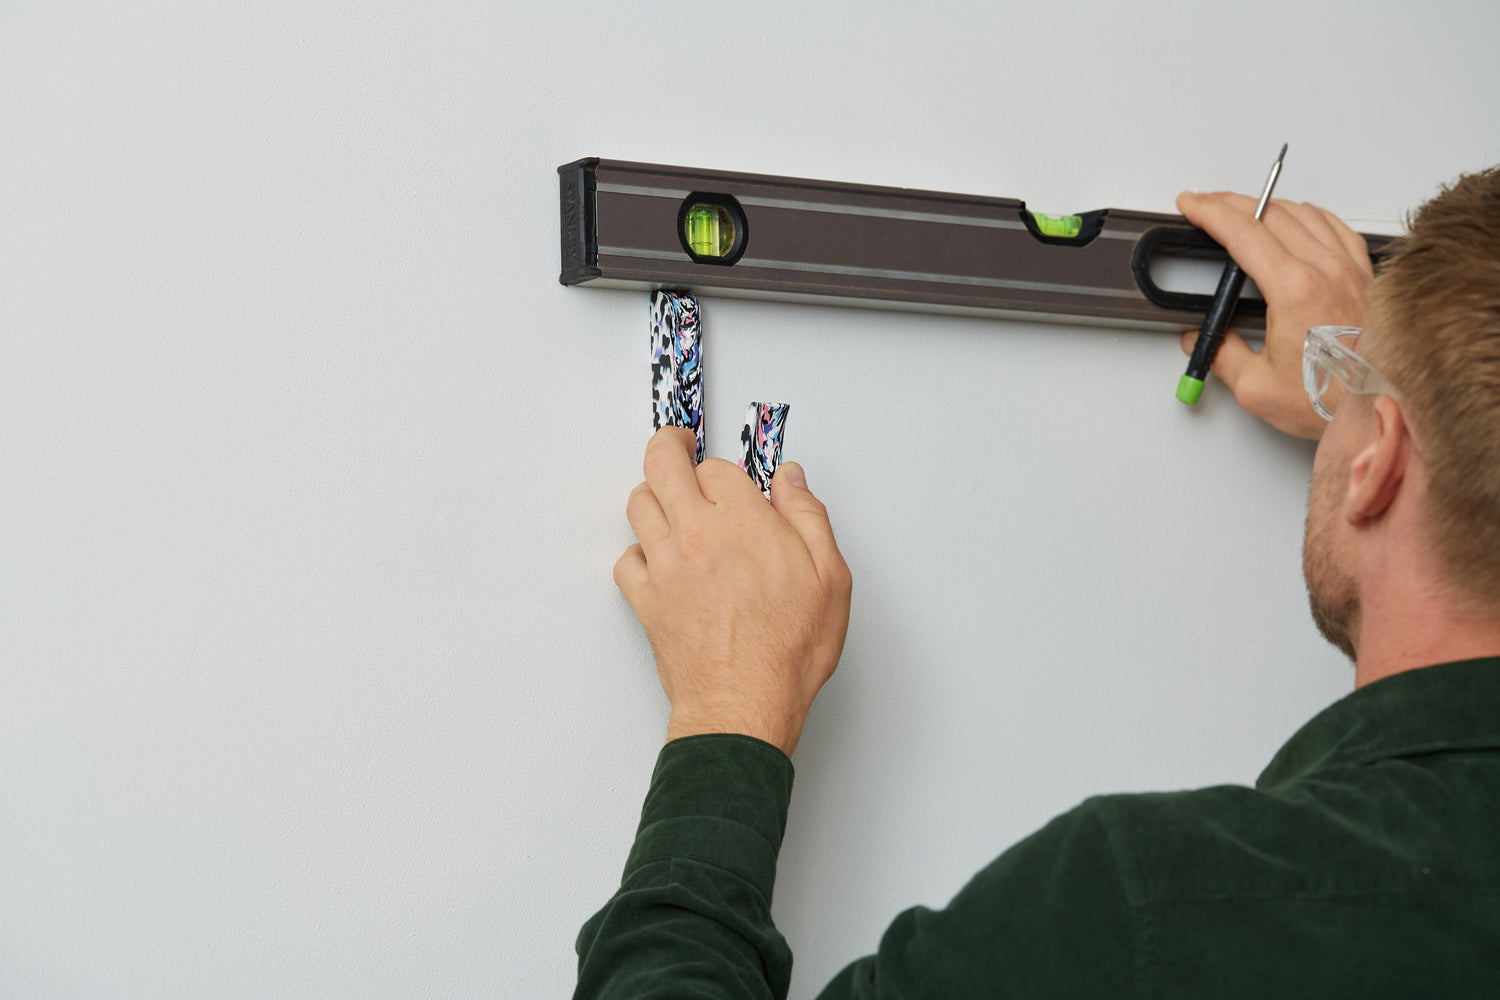
Step 5: Reference the second hook placement
Position the second hook on the wall. Use a spirit level to align it accurately with the first hook.
Step 6: Drill the upper hole for the second hook
Mark and drill the upper hole for the second hook.
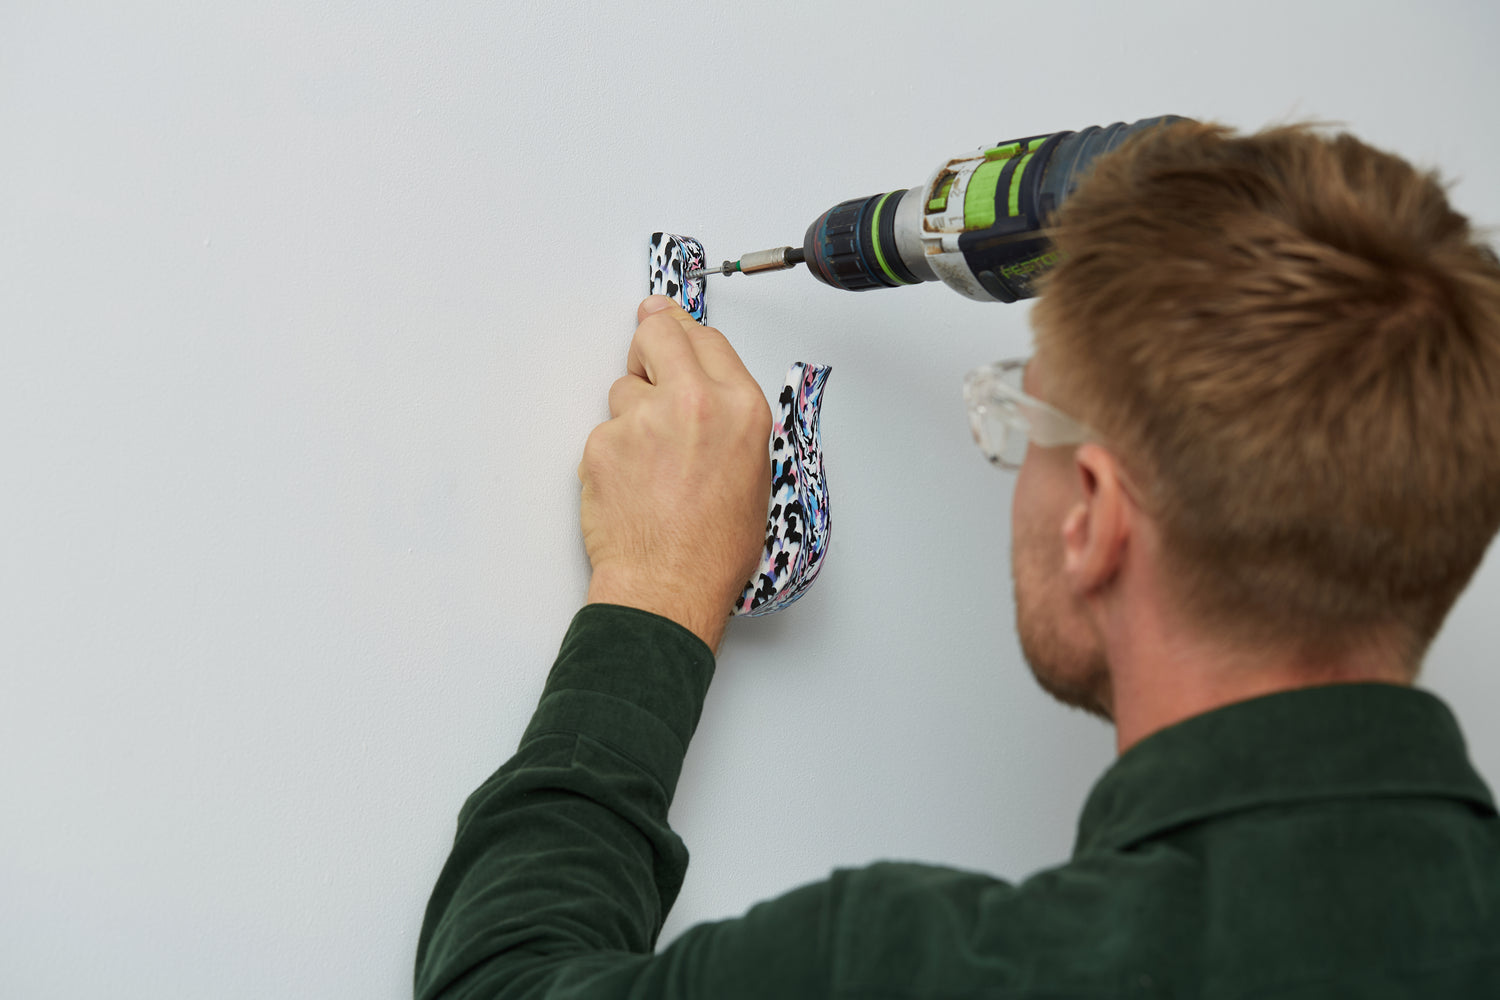
Step 7: Fix the second hook
Secure the second hook to the wall using the upper screw.
Step 8: Mark and drill the second hole
Mark the second hole of the second hook, drill it, and fix it to the wall with the second screw.
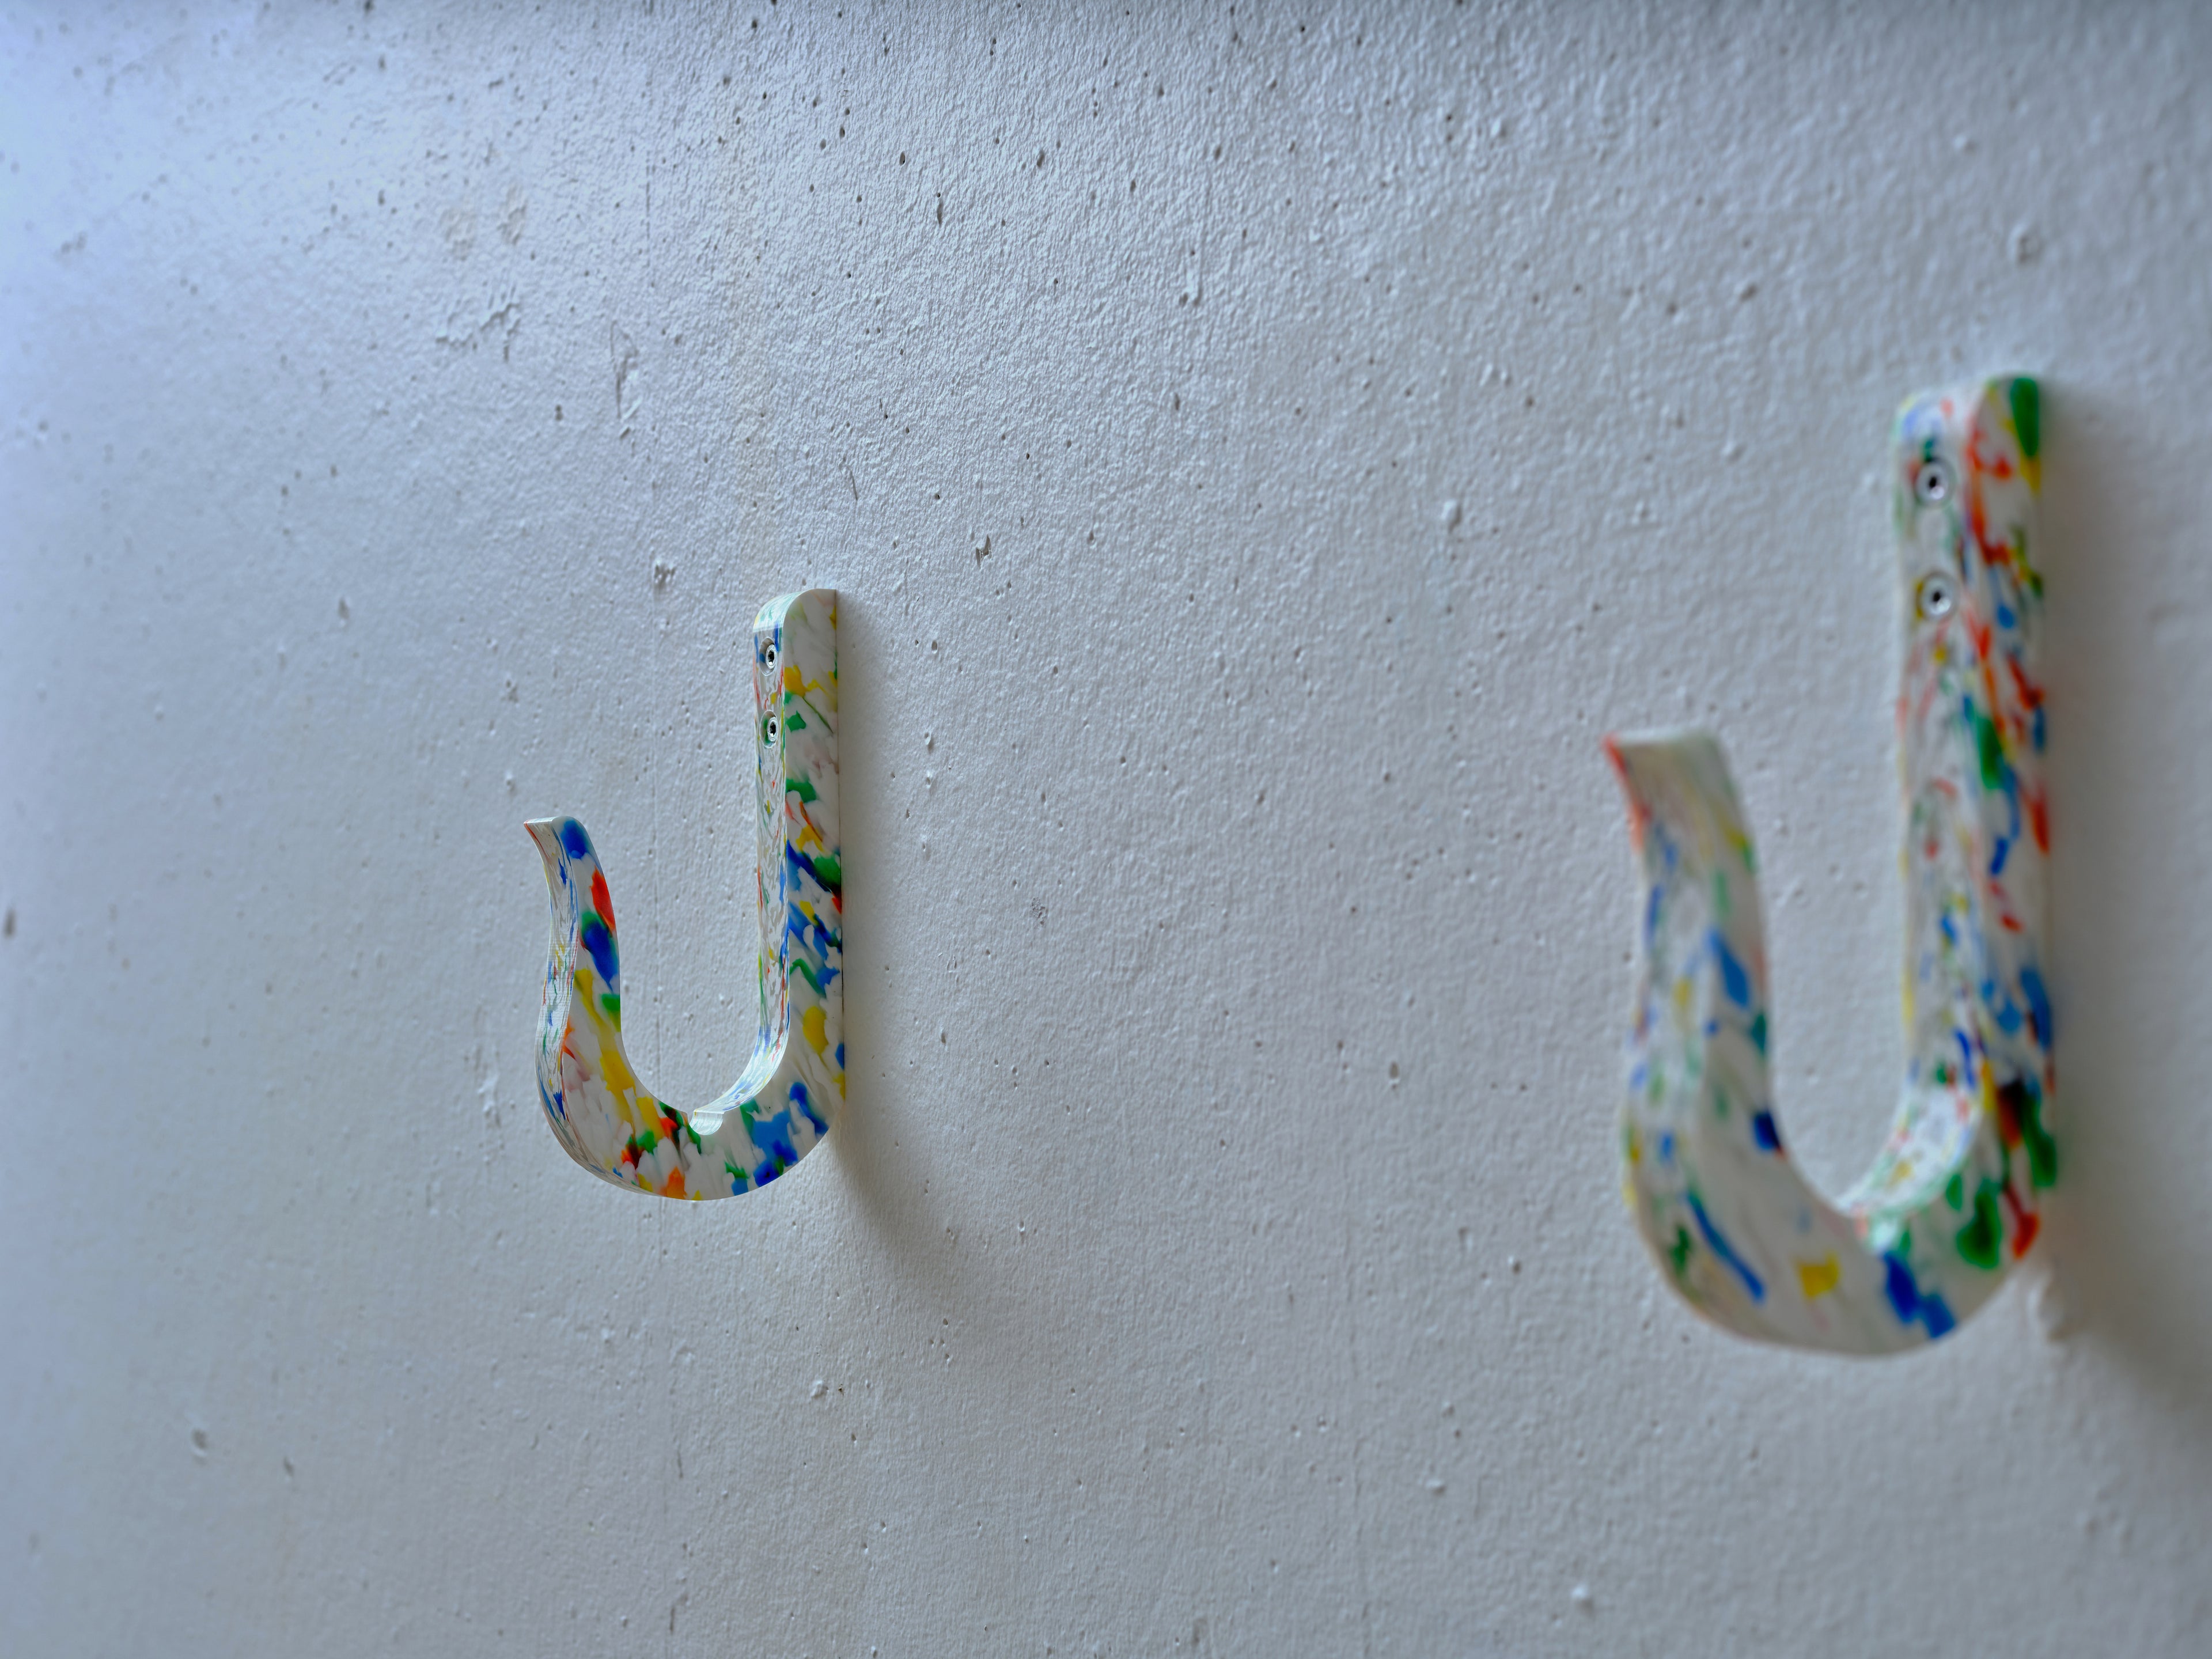
Congratulations, your installation is complete!